
How to create Mini Egg Nails – Easter Nail Art Design
How to create Mini Egg Nails – Easter Nail Art Design
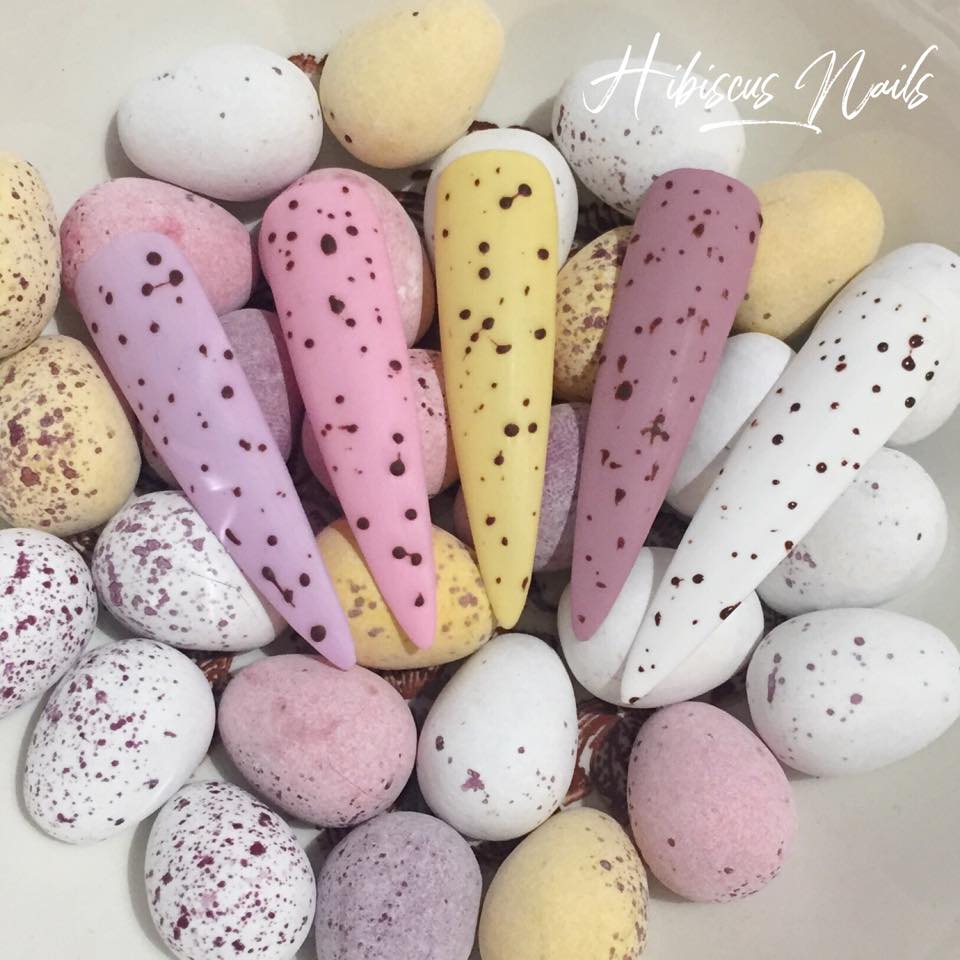
Step By Step Mini Egg Nails

A classic Easter treat, who doesn’t love mini eggs? What better way to show the love for these bite-size pieces of chocolate heaven than to design a set of nails around them?
To create these Mini Eggs nails you will need:
- A Mixing Palette (or tin foil or a tile)
- 5 Nail Tips (or someone’s hands)
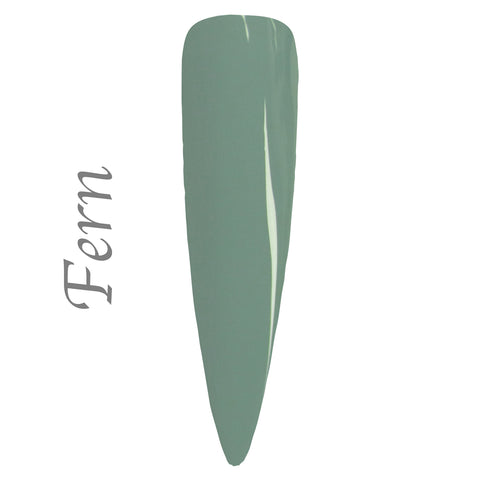
- Albertine (or a soft lilac/mauve)
- Hibiscus (or a soft pink/mauve)
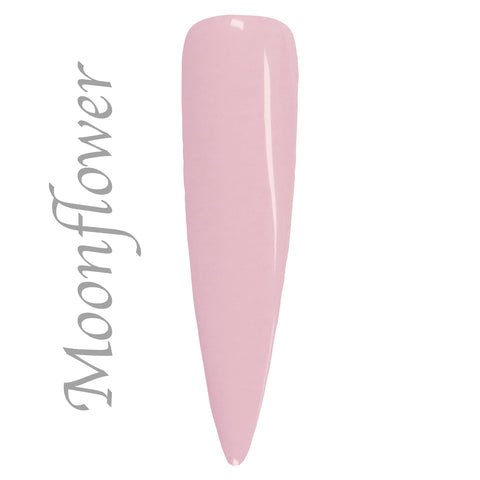
- Cherry Blossom (or a soft baby pink)
- Daylily (or a soft pastel yellow)
- Saltstone (or another pure white)
- Brown artisan gel paint (or any other brown)
- Velvet Matte (or you can apply normal top coat and buff the surface to give it a matte look)
- 8mm or 000. Fine detailer brush or dotting tools.
Step 1:
Buff your nail tips to remove the shine or prepare your nails (or your clients) so that there is no oil or cuticle left on the nail surface.
Step 2:
Starting with the first tip (or little finger) apply a thin coat of Cherry Blossom (you can choose a different colour order if you like) and cure it in your Nailchemy lamp for 30 seconds. Apply the first coat of Daylily onto your next tip (or ring finger) and cure for 30 seconds, then apply a thin coat of Hibiscus onto your next tip (or middle finger) and cure for 30 seconds, Saltstone onto the next tip (or pointer finger) and cure for 30 seconds, and finally Albertine onto your last tip (or thumb) for 30 seconds.
Step 3:
Apply a second coat of each colour onto your nail tips and cure for 30 seconds in your Nailchemy lamp.
Step 4:
Place a small amount of brown artisan gel paint (or another brown gel polish) onto your mixing palette ready for the next step.
Step 5:
Using your nail art detailer or dotting tool, randomly dot the brown artisan gel paint over all of the nails, trying to make them look as close to the speckles on Mini Eggs as possible. Once you are happy with your speckles, cure in the lamp for 60 seconds.
Step 6:
Now it is time to finish your design, by giving the nails a pretty matte finish using the amazing Velvet Matte Top Coat! Cure for 30 seconds in your lamp to seal in the design.

Make sure to tag your designs with #NailchemyEggs on Instagram and Facebook so that I can find your Mini Egg designs! I can’t wait to see what you create!
- Becca